As I always say, I am not a professional photographer or for that matter a painter. In actual fact, I look for quick easy methods to get satisfactory results. Today I will take you through my resin furniture collection from Frontline Miniatures and Copplestone Castings. I will also mention some photography tips I picked up.
The number one aim of scenery is to deflect a sloppy paint job and to distract the vewer from unfortunate scratches on your figures. By equal measure, props add enchantment to your photos.
You have probably noticed that I incorporate many resin doors in my photos. The reason is because they give a sense of enormity. What appears to be an everlasting complex is in reality a 20cmx15cm diaroma.
There is a sense of trepidation:will the hero escape from the bad guy down the long corrdors?
The doors also add a sense of mystery:what could be lurking behind on the other side? Why is there a need to guard them?
An enemy agent?
Could there be untold treasures?
Computers with top secret data?
A meeting in progress?
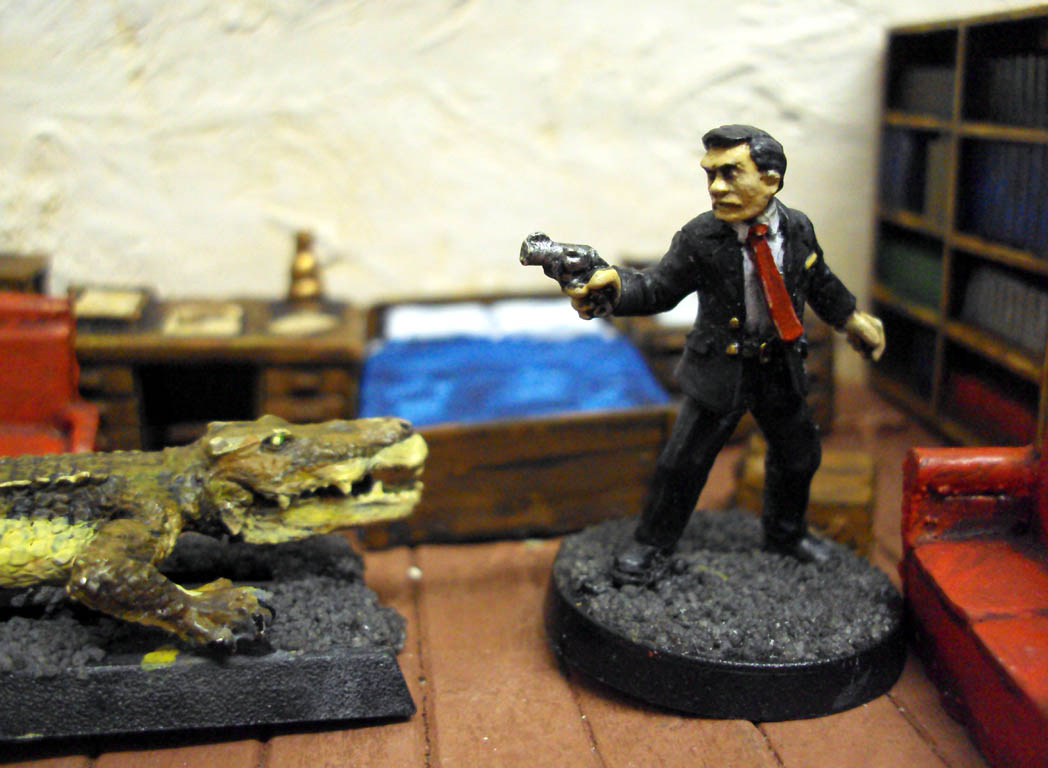
Let's move to the guest quarters. When looking for scenery I try to look for a homely feel. By having familiar objects, the pictures appear charming. Here the hotel provides a bed, study desk and a grandfather clock.
It makes it surprising when a villain appears or for that matter a crocodile!
Keep the camera close in order to capture the tension.
Other props reveal much about a villian such to what degree they are cultured and the extent of their hobbies.
Here I did not crop the photo.Consequently, the tension is diffused and therefore lost.
Notice the subtle differences.
Ink is amazing on resin as it creates shadows and creates further deepth from an almost flat object.
For food and wood, ink gives a nice aged, stained look.
I find that photos, where the vision leads upward, can be very pleasing.
It is also intriguing to have little details in the background. You almost forget how I could not be bothered to base the figures!
To be Continued....